Using Navistools Model Browser Website
Navistools Model Browser is a server based javascript application that displays the model in the b browser. Application supports also WebVR and GamePad APIs and you can view published models and walk around in VR by using Oculus Rift headset and Gamepad When Navisworks models are published into the Web Server by using Navistools Model Publisher, you can browse them with any modern Web Browser without need to install any 3rd party plugins. Just enter the URL of published model.
Browse published model with Web Browser locally
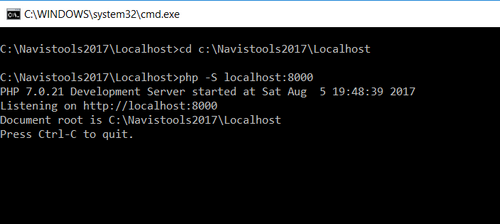
1) Run C:\Navistools\Localhost\Server.bat. It will start local PHP Web Server. You can minimize this window but don’t close it.
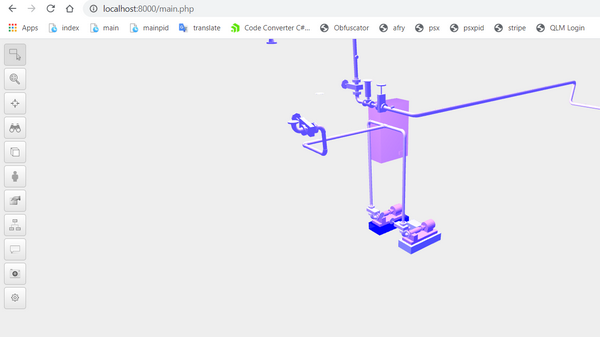
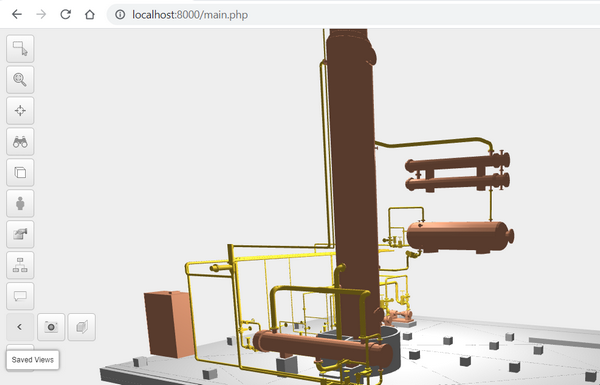
2) Navigate with Web Browser to localhost:8000/main.php
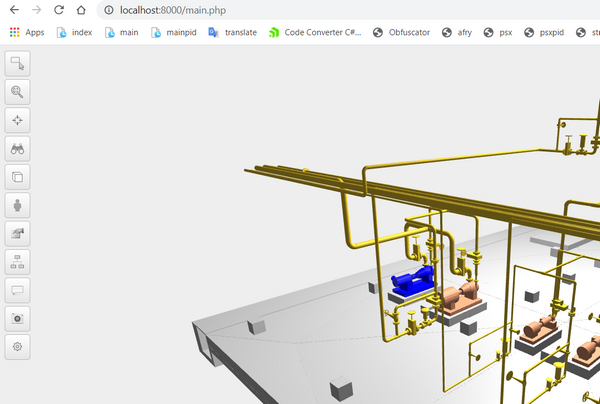
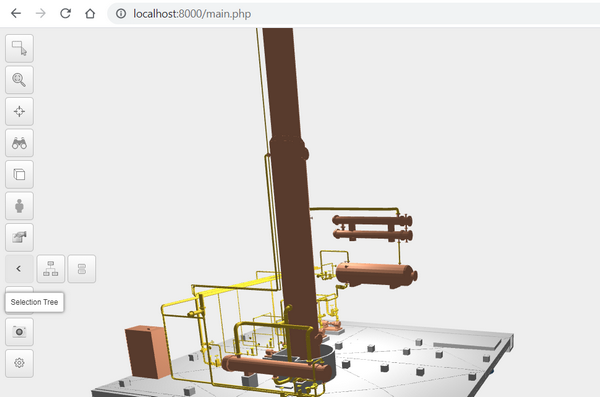
Browser window displays the 3D model that can be zoomed and rotated with mouse when using in PC or with gestures when using in tablet or phone. It also contains Controls that can opened by mouse click on left side buttons.
1. Using Controls
1.1 Select, Multiselect
You can select objects with mouse and hide and isolate them and their parents by using context menu that opens with right mouse click over the selected objects. Show all option will set all hidden objects visible again. You can switch to multiselect mode by pressing ctrl-button from the keyboard at the same time or by pressing Multiselect button on at the left side.

Selected objects isolated
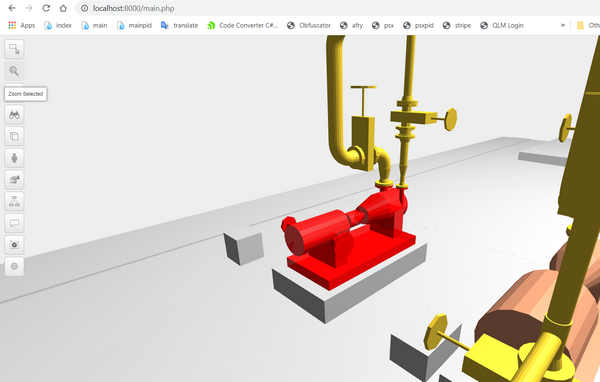
1.2 Zoom Selected
Second button from the top will zoom model to the selected objects. Select object or multiple objects and press Zoom Selected button
Model zoomed to selected pump object
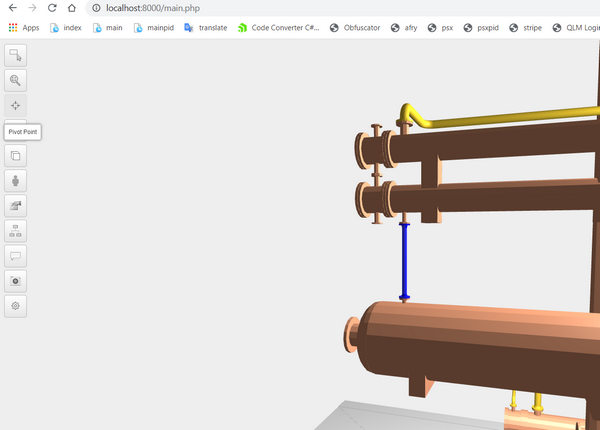
1.3 Pivot Point
Third button from the top will set pivot point according the selected object. Select object and press Pivot Point button. After that you can rotate model around the newly set pivot point.
1.4 Viewpoints
Fourth button from the top opens and closes extra Viewpoints buttons which can be used to set model viewpoint quickly to match predefined viewing directions
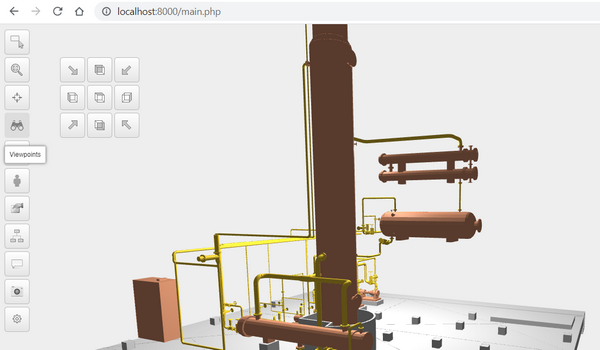
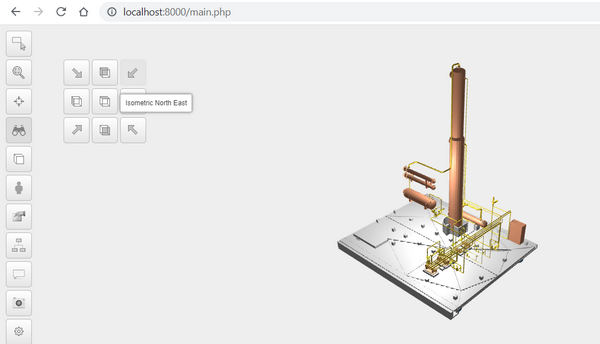
Model viewpoint set to Isometric North East
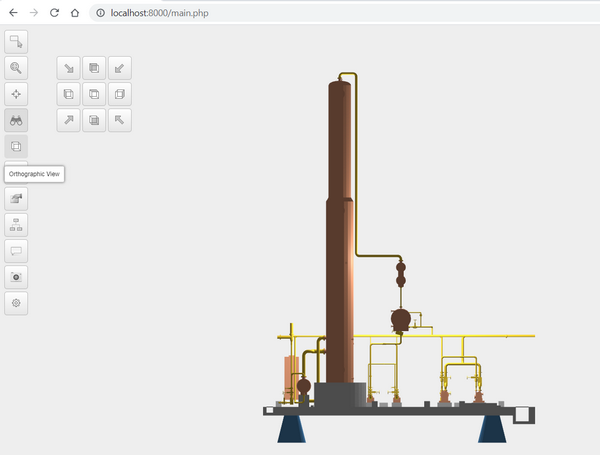
1.5 Perspective vs Orthographic View
Next button switches the scene between perspective and orthographic view
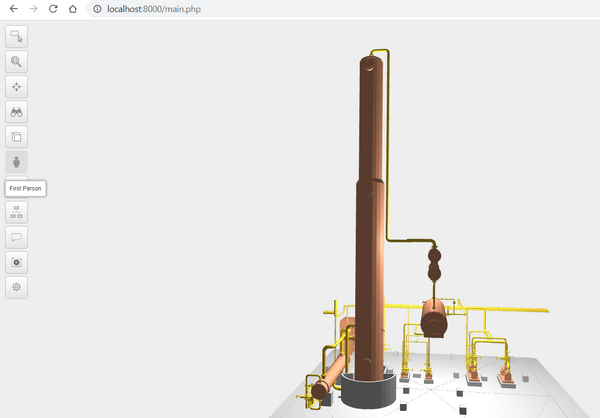
1.6 First Person
Next button switches between default Orbit Control and First Person Control. When First Person Control is turned on you can move in the scene with following keyboard keys:
| W = forward | arrow up = pitch up |
| S= back | arrow down = pitch down |
| A = left | arrow left = yaw left |
| D = right | arrow right = yaw right |
| R = up | Q = roll left |
| F = down | E = roll right |
1.7 Properties group
Next button opens and closes sub buttons related to Properties group
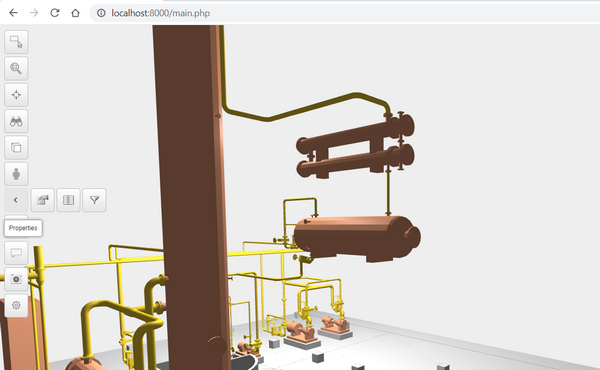
1.7.1 Properties
First sub button Properties opens the panel that displays properties of the selected object. Properties are created during the publishing process from the selected Navisworks properties.

1.7.2 Database
Second sub button Database opens the panel that displays more properties of the selected object. These properties are coming from the external web service.
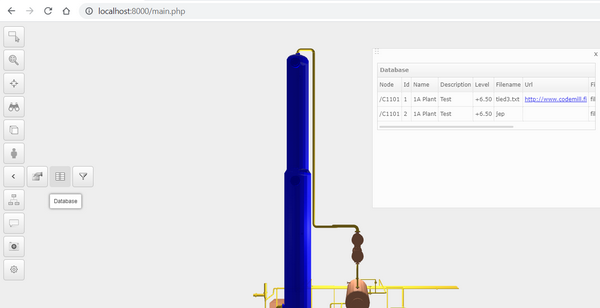
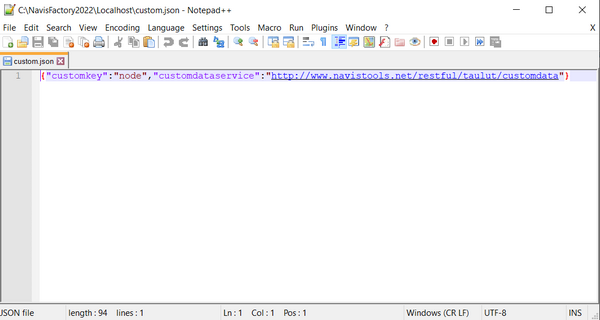
The name and the linking key to the external web service is defined in the custom.json file
1.7.3 Filter
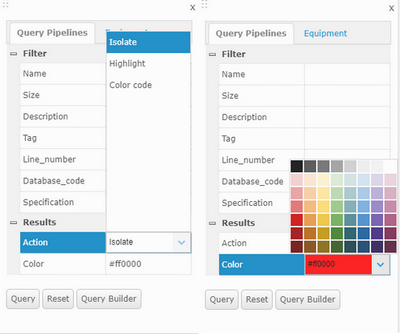
Third sub button Filter opens the panel that can be used for filtering the model. It contains separate tabs for querying pipelines and equipment. You can enter search criteria in the text fields and press Query button.
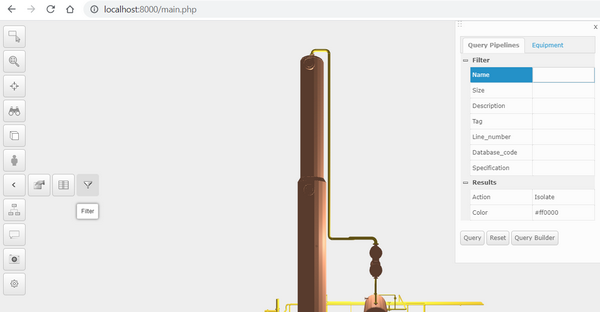
Query results are displayed in the scene based on selected Action and Color choices. However please note that filtering function need to be modified based on model type and underlying database data and that’s why is not working with default settings in all models.
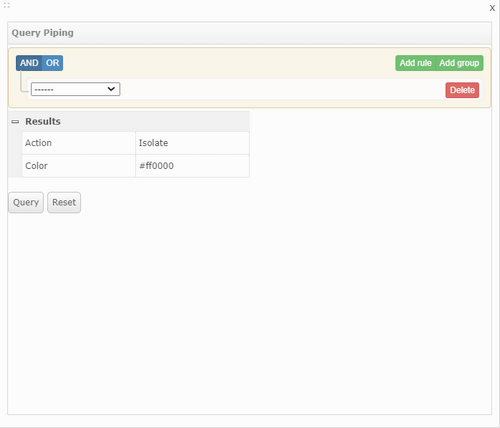
If need to create more complex queries there is also a build-in Query Builder available that can be launched from the Query Builder button
1.8 Selection Tree group
Next button opens and closes sub buttons related to Selection Tree group
1.8.1 Selection Tree
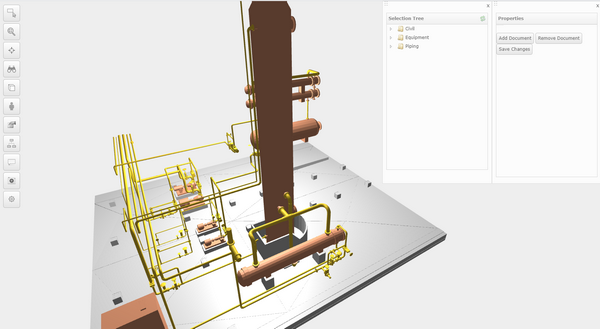
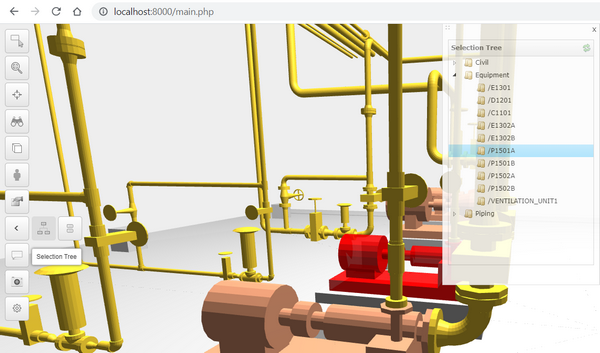
First sub button Selection Tree opens the panel that displays the selection tree where all published objects are grouped based on their group mappings. When you double mouse click node in the tree, scene will zoom to that object and it will be highlighted. When you select object by mouse click in the model, same object will be selected in the selection tree.
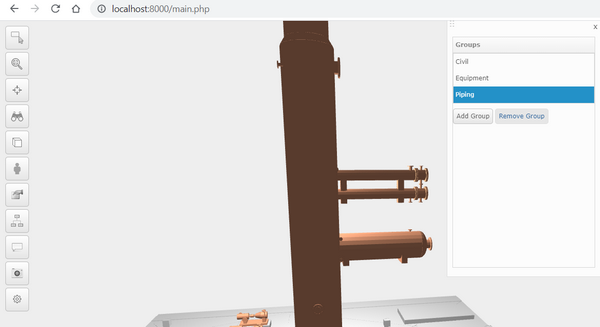
1.8.2 Groups
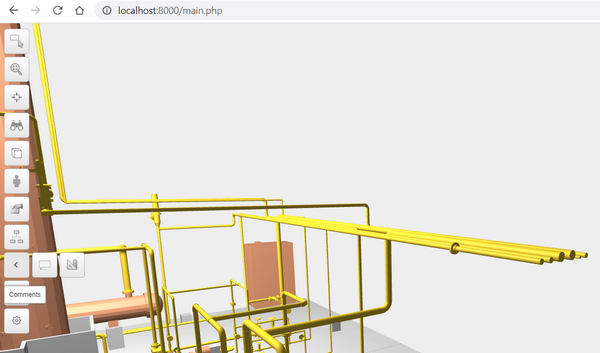
Second sub button Groups opens the panel where all published groups are listed. There are also 2 buttons which can be used to load (set visible) and unload (hide) from the scene. Select the group name from the list and press Add Group or Remove Group button
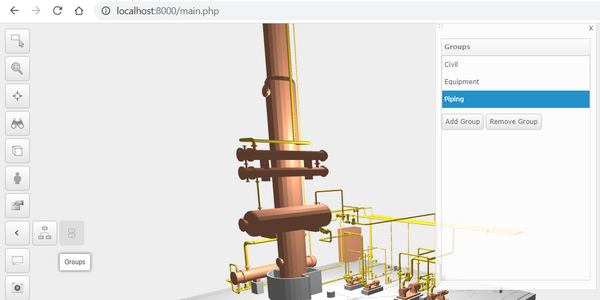
Piping group unloaded from the scene
1.9 Comments Group
Next button opens and closes sub buttons related to Comments group
1.9.1 Comments
First sub button Comments opens the panel where you can add comment symbols with issue description to the selected objects
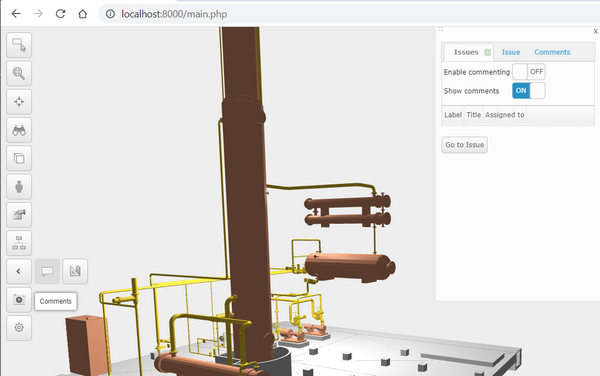
To add a new comment symbol to the object, please:
1) Turn on Enable commenting switch button
2) Point at the object
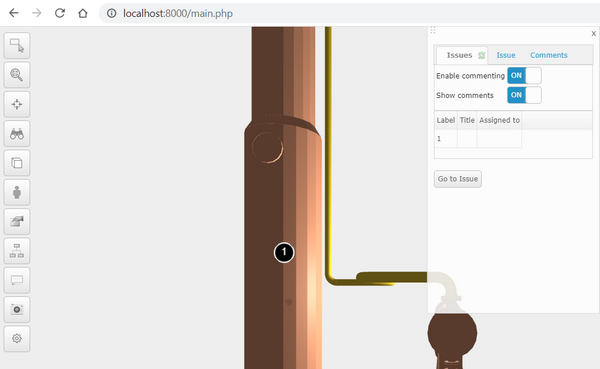
You can refresh created issues by pressing refresh symbol at the right side of the Issues tab header. Then list control will be updated and displays all created comment symbols.
To go to one of these issues, please select one from the list and press Go to Issue button. After that scene is zoomed so that the comment symbol is in the middle of the screen and the selected issue is displayed in the panels Issue tab
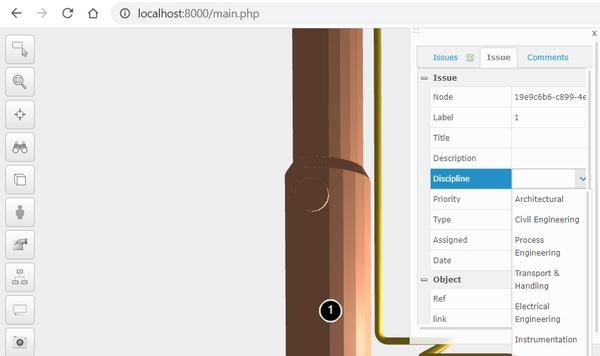
You can enter issue information into text fields and select predefined values from the Listboxes. To save changes press Save Changes button.
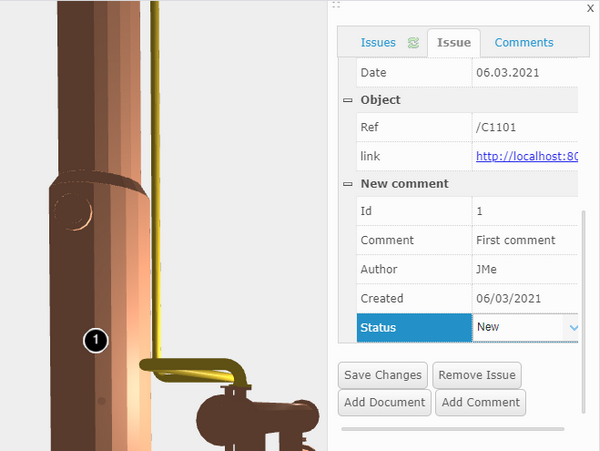
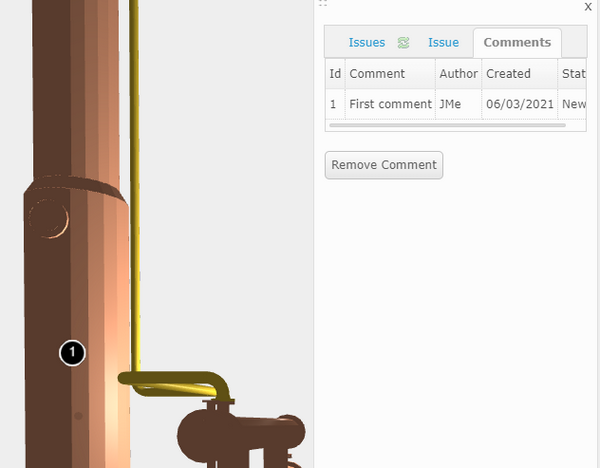
You can add several comments for each issue (use this e.g. for workflow coordination). To add a new comment, please fill up fields under the New comment category and press Add Comment button.
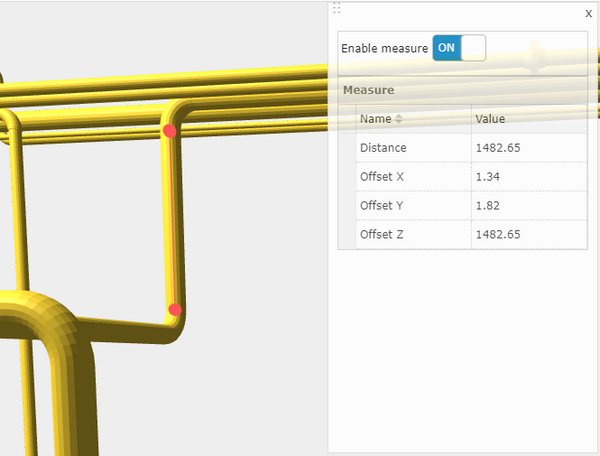
1.9.2 Measure
Second sub button Measure opens the panel which can be used for measure distances from the model.
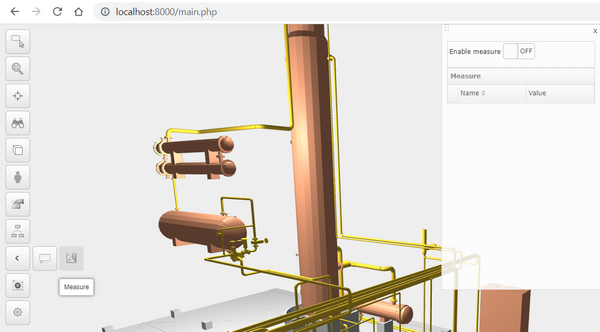
To measure distances from the model, please switch on Enable measure button and pick starting and ending points from the screen. Distance and offsets between these points are displayed in the panel.
1.10 Saved Views Group
Next button opens and closes sub buttons related to Saved Views group
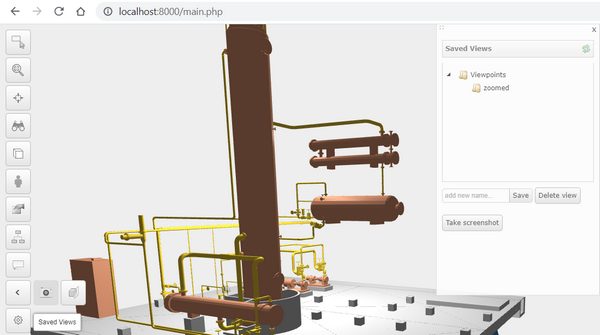
1.10.1 Saved Views
First sub button Saved Views opens the panel where you can create saved views from the model.
To create saved view:
1) Zoom to desired location
2) Enter name of saved view into the textbox and press Save button
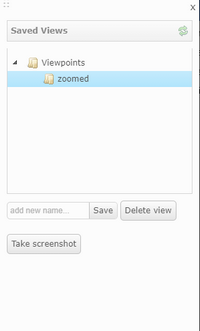
After that the new view is saved and displayed under the Viewpoints in the Treeview. You can go to any of the saved views by mouse click the name in the Treeview.
To refresh the Treeview control please press the refresh button on the right side of the Saved Views header.
To delete saved view, please select it from the Treeview and press Delete view button
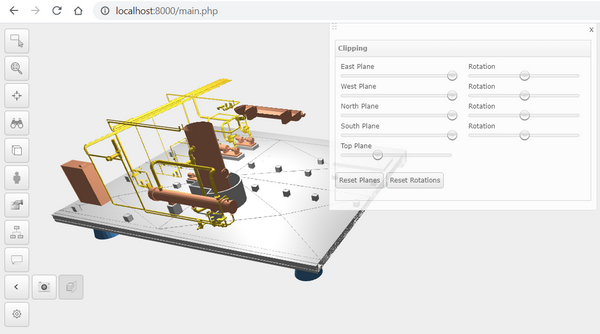
1.10.2 Clipping
Second sub button Clipping opens the panel where you clip mode with clipping planes from different directions.
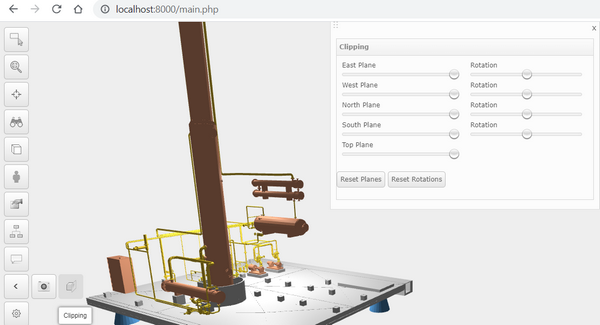
To clip the model please use Sliders. To reset clipping planes press Reset Planes and Reset Rotations buttons
1.11 Settings Group
Lowest button opens and closes sub buttons related to Settings group
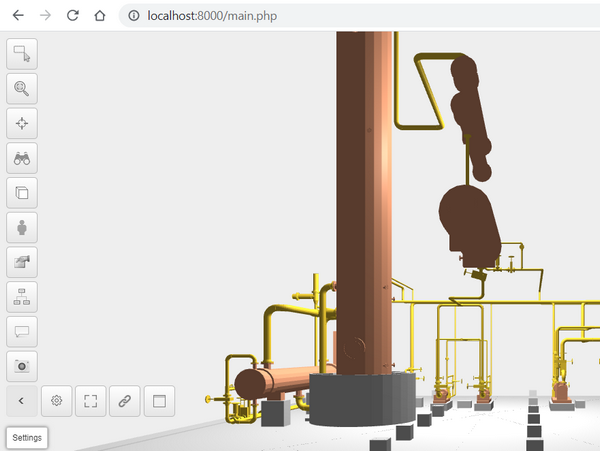
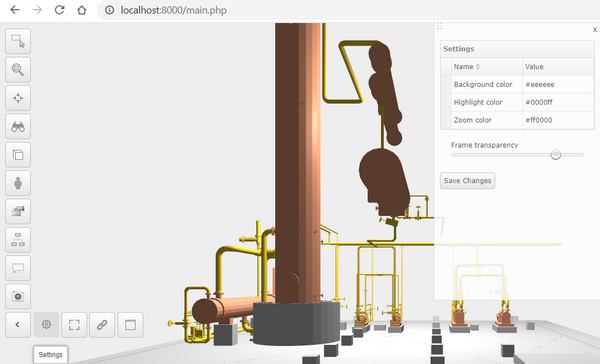
1.11.1 Settings
First sub button Settings opens the panel where you can change Background, Highlight and Zooming colors and set the transparency of the UI panels
1.11.2 Full Screen
Second sub button toggles the screen between full screen mode and basic screen mode
1.11.3 Credo Link
Not available at the moment
1.11.4 Custom
Forth sub button opens and closes empty panel which can be used as a template to extend Model Browser functionality.
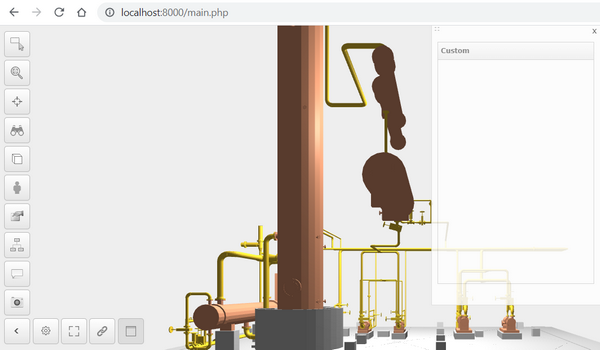
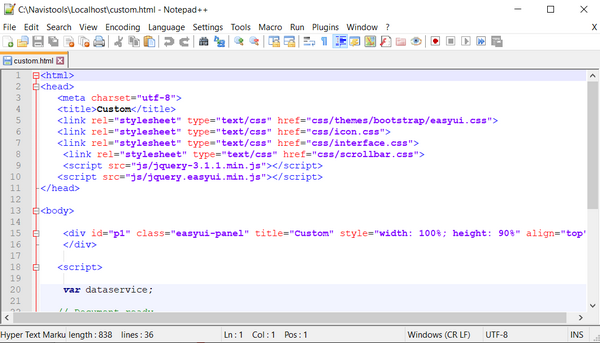
The panel is created in the custom.html file